


What Is Involved in Framing a Wall With Steel Studs

The process of framing a wall with wood or steel studs can appear difficult at first glance. With all the measurements, terminology, and materials needed, the process can be initially off putting for many people. However, with a little guidance and professional assistance, you can effectively start framing walls and establishing the structure for your home.
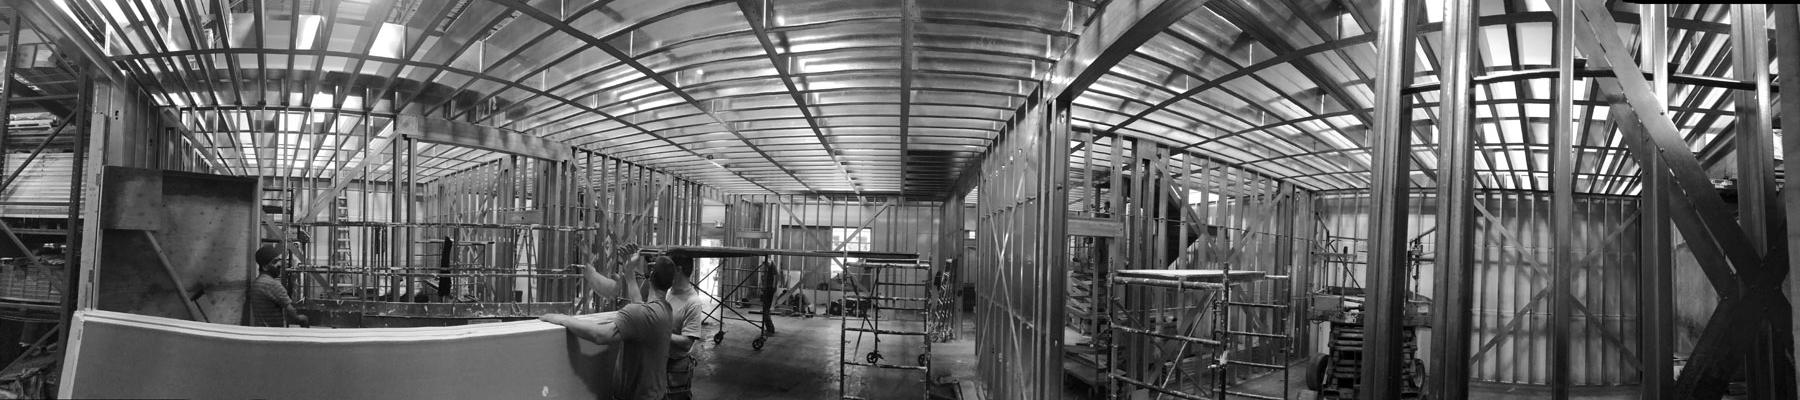
When choosing between the type of stud used for wall framing, there are two options: wood and steel. While wood is effective and has been commonly used in British Columbia for decades, new technology and supply chain adjustments have made steel studs more prevalent.
Part of what has made steel studs more common is the use of galvanized steel. This newer type of steel stud is lightweight and easy to handle and transport, which can minimize challenges with the installation or delivery of the studs.
Having said that, the process of installing steel studs can still be quite complex, and it is important to do your research and work with a professional before starting any wall-framing project.
How Does the Wall Framing Process Work with Steel Studs?
The process of wall framing can vary depending on the location, current season, project timeline, and number of workers. However, as a general guideline, the process will follow a similar timeline as below.
Once you have your steel studs on hand, the first step is to measure the area where the wall will be installed. Start by marking the location where the frame will go and make note of any electrical or plumbing lines that may run through the wall.
After you have taken the wall measurements, it's time to start cutting your steel studs to size. For this step, you'll need the following:
- Framing square
- Set of tin snips
- Metal-cutting saw
When you have gathered these, mark the desired dimensions of the studs with a sharpie and then cut them to meet the wall's height and width. Be extremely careful during this step, as mistakes can cause the entire wall-framing procedure to go awry.
With your steel studs cut to size, it's time to start installing them. Start by placing the first steel stud into the base of the wall, aligning it with a level, and securing it to the floor with screws or anchors.
Once the first stud is in place, continue installing the studs and ensure consistent spacing. We suggest using a framing square to verify this.
After all the studs are in place, it's time to add the wall plates, insulation, and any finishing materials you may need, such as drywall, paneling, or other decorative elements.
Professional Assistance Is Always Recommended
As you can see, there are a few crucial steps involved in framing a wall with steel studs. While this guide provides a simple overview, it is not a substitute for professional assistance. If you want to create a durable and affordable steel frame in British Columbia, Turner Bros can help.
We have over 85 years of framing, drywall, and accusing ceiling experience. No matter the size of your project, we can ensure it is completed according to plan and budget.
Turner Bros Contractors Ltd. has been providing steel-stud framing, drywall, and acoustic ceiling services for residential and commercial applications in the Vancouver area since 1932. The company is family-run with four generations of the family represented in the business.
If you have any questions about this article or would like to talk to us about your residential or commercial project, please call us at (604) 532-1991 or email us at info@turnerbros.ca.
